My Basement Finishing Project

Tuesday, February 28, 2006

Started on Wainscoting

I did the wainscoting for one 6' wall last night. Wasn't too bad. Had to cut out part of it for the electrical outlet and trim another one down to 2'. I used shims under them to make them level across the top. Used Liquid Nails to secure them to the wall. Hopefully that held and they're not laying on the floor now. If it didn't, I'll use the new nail gun to pop a couple nails into it to hold. Took about an hour but I was super careful in lining everything up. Probably go faster now that I know what to do. The next wall is much longer (18') so I'm thinking I will determine the correct height at both ends and snap a chalk line on the wall so I can line them up easily.

Monday, February 27, 2006

All about the money

This weekend we went and purchased all the ceiling tiles and CeilingMAX grid for the basement. Total cost was about $800. I calculated that we needed 109 2x2 tiles. I hope I overestimated and can take some back. They were towards the low end at $1.94 each. Of course, that was Saturday and on Sunday I saw that they went on sale. They'll give me some money back though.

I also decided to buy beadboard for the wainscoting. We went pretty cheap here as it is only the basement. 10 sheets of 32" x 48" at $7.77 each.

I'm still not sure which I want to do first. I think the wainscoting I would prefer to get out of the way before I start on the ceiling.

Friday, February 24, 2006

This weekend's plans

I haven't done a heck of a lot of work this week. One thing I did get finished was to connect the phone and cable lines in both rooms and put the outlet covers on. I'm noticing lots of areas that need repainting too. Some runs, some white coming through, etc. I think I'll wait till further down the road before I do all the touch ups. I'm pretty sure I'm going to do more damage moving things into the rooms.

My plan for the weekend is to get 2 things accomplished:

1) Measure and buy the beadboard for wainscoting 2 walls in the pub room. I found 4x8 sheets of 1/4" that matches our stain perfectly. It's cheaper and won't require any additional work other than cutting them. I can get 3 32" high pieces out of each sheet. I think 3 sheets will be enough for those 2 walls. That's only about $90, compared to the $400 that it would cost for tongue and groove 3" boards.

2) Determine the grid layout for the ceiling tiles and go buy it. Have to figure out exactly how I want the tiles laid out and measure for the grid system. Once I have that I can start attaching the grid to the joists.

Monday, February 20, 2006

Weekend Update

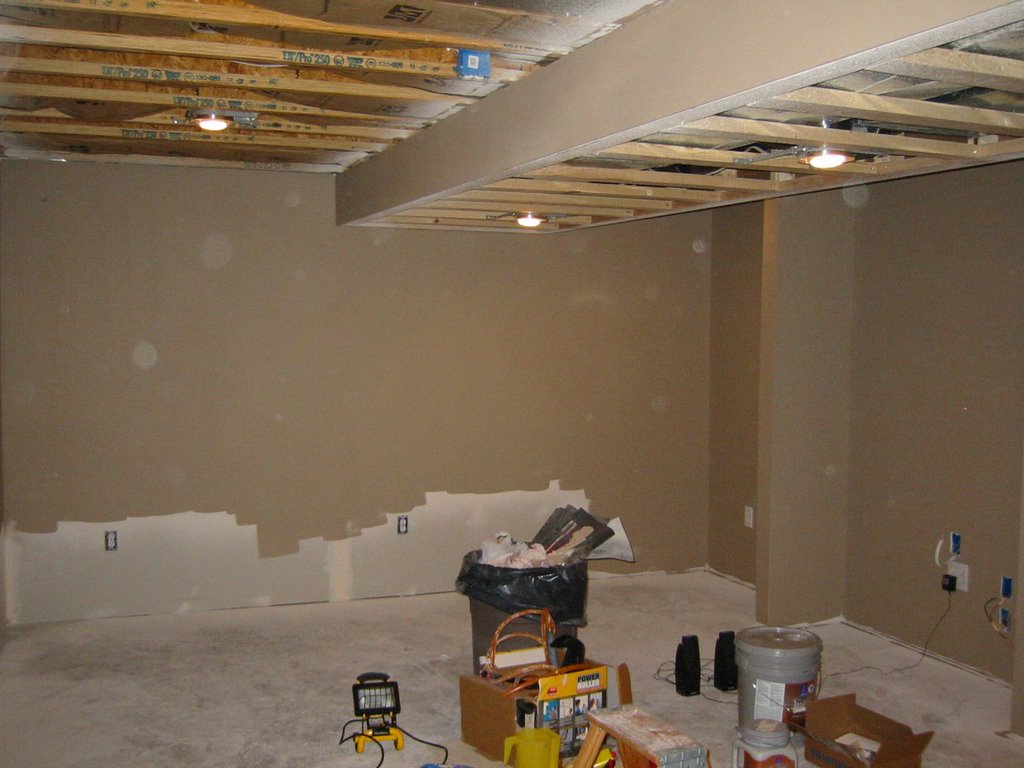
Today marks the start of our 7th week of work (we started cleanup on January 2nd).

This weekend I was able to spend some time working on it. I started Friday working on the 1x12's that go between the stairs and the wall. Had to cut out the angles, which I had fun with (who remembers all that 10th grade geometry stuff????). After I got the pieces cut out I stained them, ended up doing 3 coats to get the color right. That was my first mistake. Using an oil based stain in an enclosed house when it's 10 below outside is not a good idea. The lingering smell just about made me sick. It was all I could smell from Friday through Sunday morning. Anyway, by Saturday afternoon I could put the polyurethane coats on (two) and by Sunday I could install them. I got to use my new toy too! It's a Porter-Cable compressor with a finish nailer, brad nailer and crown stapler. Sure is nice to be able to hold something in place and just fire nails into it, no more smashing of the thumb! I love it.

Saturday I started working on the in wall speakers. First I had to paint the frames and the grills to match the wall colors. I have 6 speakers in all. 2 for the workout room and 4 for the pub room where I'll have Dolby Digital 5.1 surround sound. After the paint dried I started in the workout room and got both of those speakers installed. It wasn't hard. They provided me with a template and once I had the placement right (beware of studs!) I just took my drill and drilled holes in the four corners and use my jigsaw to cut out the drywall. The speaker has 6 mounting brackets on it. You just turn the screws on the front to tighten the brackets against the back of the drywall, then pop the grill on and you're done.

Before I could finish the other speakers, my brother came over and we went to work on the 2 36" doors (workout room door and pub room to laundry room door). It took a little over an hour I guess to hang both of them. Again, nice to have that nailer, we used 2 1/2" 16 gauge nails to secure the door to the frame, using 3 sets of shims on each side to get it square and plum. We installed the hardware on the workout room door just to make sure it works. I'll have to pull the doors off later for staining. We quit after that as the rest of the family showed up for mom's birthday.

On Sunday I went down and finished the 4 speakers in the pub room and hooked up my stereo to it and they all worked! Shocking... haha.

After that I finally got out the shop vac and went over the floor really well. It was so dusty from the drywall, I felt like I was constantly inhaling it. I began working on the cable and phone jacks (only wiring I have left) but ran out of time. I'll take some more pictures when I've got those completed.

Monday, February 13, 2006

Painting Complete

I spent the weekend painting. Everything except one wall in the workout room is a color called "Utterly Beige" from Sherwin Williams. The one wall is "Badger Red", a formula created by Sherwin Williams. I also put in our wall sconce at the top of the basement stairs (last picture) and got most of the outlet and light switch covers on. The area that looks like I forgot to paint is where our wainscoting is going so I didn't bother painting there. I forgot to clean the lens from last time so I'm still getting spots on the pictures. I apologize for that, I will re-take these tonight.

Thursday, February 09, 2006

Pre-painting pictures

Here are some pictures of the rooms after my brother finished. I will begin painting this afternoon (hopefully). Hover over each image for a description.Looking Down the stairsSmall closet by stairsBigger closet by stairsLooking into workout roomFrom corner of workout roomDown hallway towards pub roomFrom doorway to laundry, looking back towards closet under stairs and hallwayFrom doorway to laundry, looking diagonally across pub roomFrom doorway to laundry, looking straight down back wallFrom opposite corner in pub room, looking back towards doorway to laundry

Ready to Paint!

My brother finished up the final touches of spraying texture and cleaned up yesterday. It looks awesome, he did great work. I didn't have time to take pictures last night. I will take some tonight. I plan to start painting tomorrow afternoon. I still have some cleanup to do on the stairway (dog hair and cobwebs mostly, as well as some screw holes to fix).

It's really looking like something now, pretty exciting!

Monday, February 06, 2006

Texture Day

Sorry for the lack of pictures lately, been pretty busy.

Today is the day my brother sprays the primer/texture on the walls. Once he finishes that most of his involvement will be done. Just in the nick of time too as our money is running low.

We purchased the paint we'll be using this weekend from Sherwin Williams. We got a discount because we had bought our paint from them initially and I guess they remember things like that. We bought a color called "Utterly Beige" for the majority of the basement. We have this color in our bedroom and master bath and really like it. We decided that we would also do an accent wall in the workout room. Sherwin Williams already had a formula for Badger Red which is what we wanted since much of the theme of the room will be University of Wisconsin athletics. We bought a gallon of that and 5 gallons of the beige.

I probably won't get to the painting until Friday afternoon/Saturday morning. I'll get some pictures of the walls post-texture and also the new utility sink my brother put in Friday (works great).

Wednesday, February 01, 2006

Drywall Update

We're getting closer. The 2nd coat of mud went on yesterday. One more coat today (and maybe tomorrow as I have to bowl tonight) and it'll be ready for sanding.

For sanding, we bought a device that sucks the dust into a 5 gallon bucket of water, powered by a shop vac. It's supposed to cut down 95% of the dust so it doesn't permeate throughout the house. Check back later for the results...

My brother will probably be spraying texture (sand tek) onto the walls Monday. That will most likely end his full time involvement. We're going to paint after that. I'll probably ask him to come back to help me hang the doors after we're done painting and maybe again when I do the wainscoting, just depends on how much I feel I can do myself.

I'll post more pictures once the drywall preparation is finished.