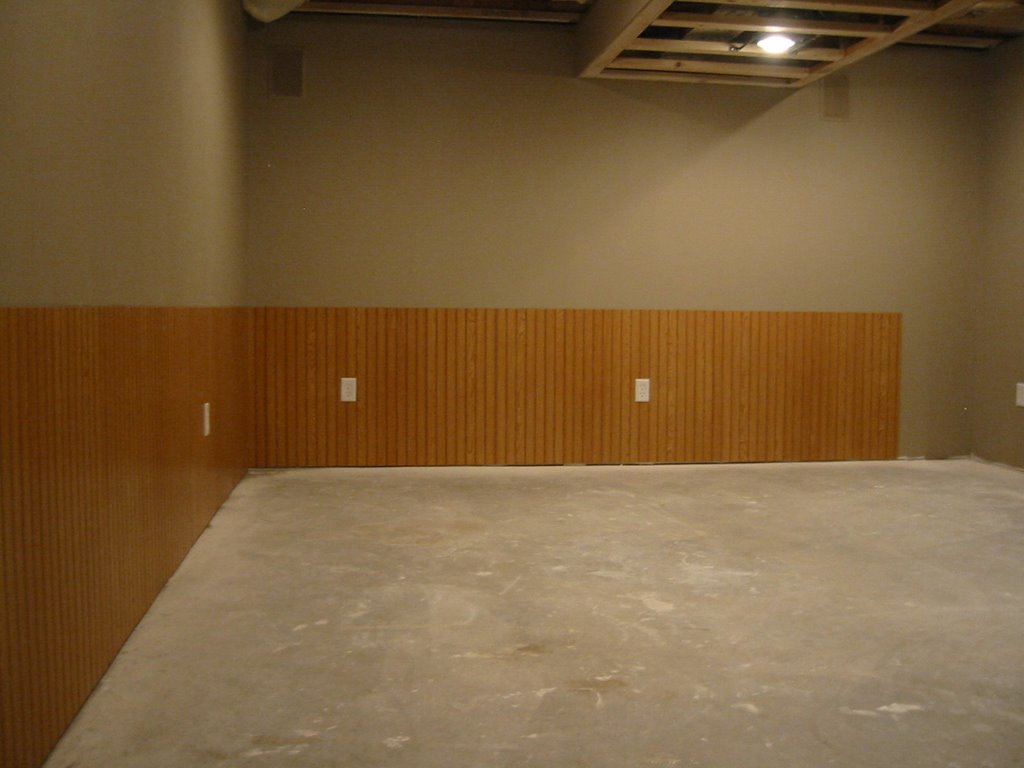
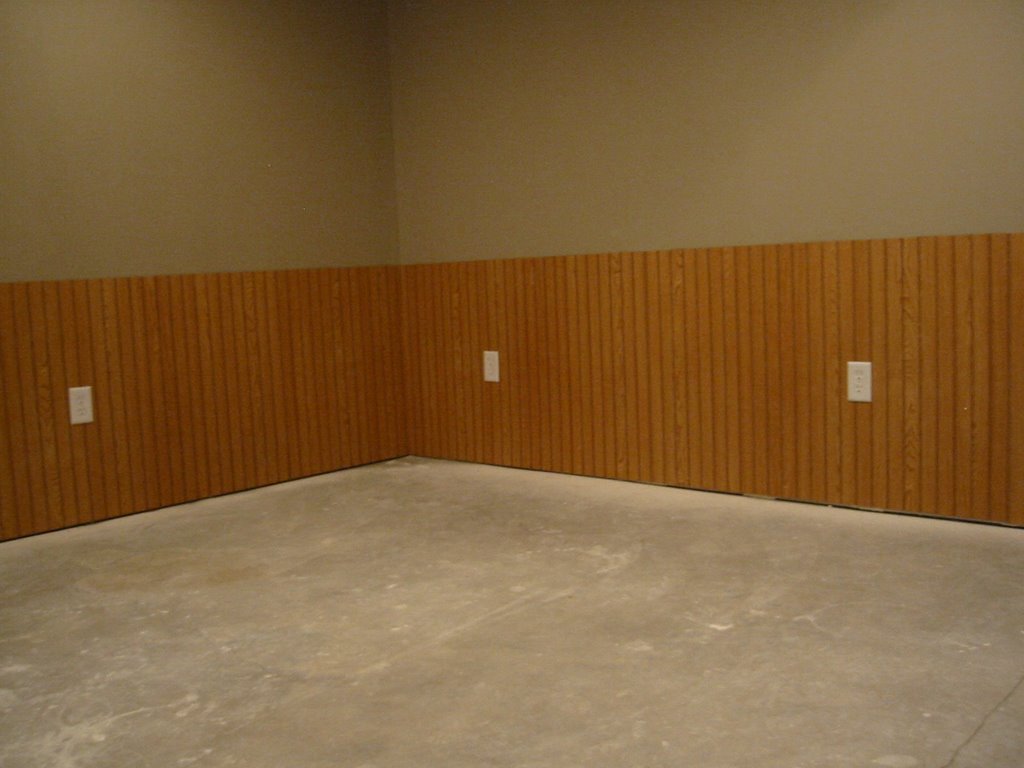
The Ceiling Grid and the Case of the Problem Can Lights
I began connecting the ceiling grid yesterday in the workout room. I laid it all out so that I would have equal length short tiles on each side and everything would be perfectly even.
I started out by installing the wall brackets perpendicular to the floor joists and using my new air powered staple gun to connect them to the joists. Then I installed the other 2 walls making them level with the others. That went pretty smoothly.
Then I began the process of hooking up the track runners and the cross tees. Basically you hang a track then connect the cross tees (23" pieces) to it and then connect the next track. I snapped a chalk line across the floor joists and connected my first track using the staple gun. From there I attached the cross tees into the marked locations and then I went to put the 2nd track in but found that the first can light I ran into is right dead in the track location.
Ok, yank out the nails holding it in place, get some new nails and move it over a foot so it's in the middle of 2 tracks and between the cross tees. What a pain in the butt that was... but, I got it done and continued on putting in track, then cross tees, then track, etc until I got to the other side of the room where once again the can light was right dead in the track location. At that point I threw down my tools and went upstairs to watch basketball.
One key component to hanging the track is to make sure that the first notch is the right distance from the wall for the width of the tile you want. For instance, I want 20" tiles on those sides so I cut the track so that my first notch is at 20". Then you install the track. It ends with a 12" run from the last notch so you need to connect another piece to it starting with the 12" run from the start of the other piece to give it the 24" gap. It's not hard once you get that into your noodle.
I'll continue on next weekend. Hopefully I can finish the workout room then.
posted by adubya at
11:15 AM
|
0 comments
![]()

